Hey Guys, Today We'll look at installing and configuring Tailwind CSS in Nuxt.js 3. Server-side rendering (SSR) and static site generation work well with Nuxtjs (SSG). For speedier performance and a better developer experience, Nuxt 3 has been re-architected with a smaller core. A utility-first CSS framework is Tailwind CSS. The combination of Nuxt js with tailwind CSS is ideal.
Before getting started, make sure you have the following installed on your machine:
Node.js and npm (or yarn)
Nuxt.js 3
Create a New Project
Open a terminal and navigate to the directory where you want to create your project.
Open your project folder in Visual Studio Code
Run the following command to create a new Nuxt.js project
npx nuxi init <project-name>
Replace <project-name> with the desired name for your project. It looks like this in Visual Studio Code. I am running on the same directory npx nuxi init .

Now, Go to your project folder using this command.
cd <project-name>
Install the dependencies
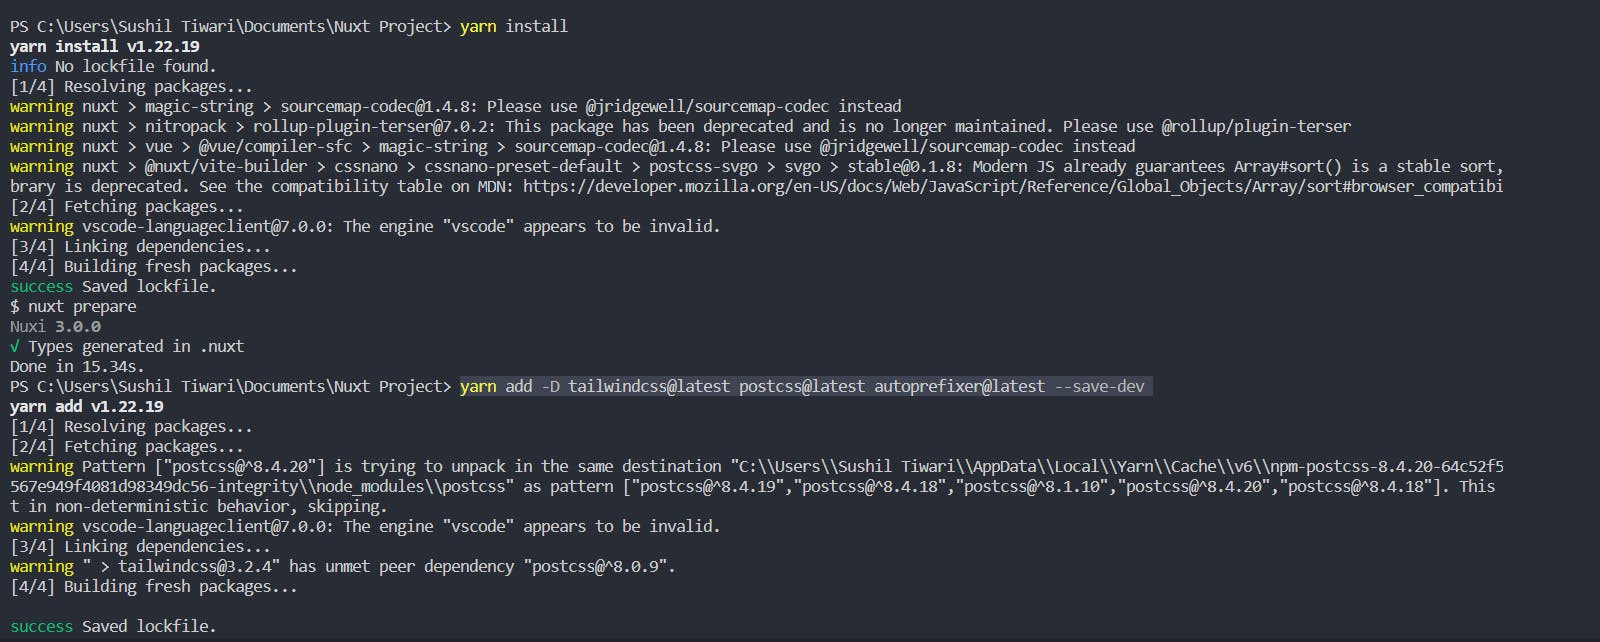
`yarn install`or`npm install`

After installing the prerequisites for our application, we will set up Tailwind CSS and all of the other components it needs to function properly.
Installing Tailwind dependencies
Run the following command in your project directory:
yarn add -D tailwindcss@latest postcss@latest autoprefixer@latest

Generating a Tailwind config
Generate a Tailwind CSS configuration file by running
npx tailwindcss init -p

Configuring Tailwind Config file
You'll need to configure Tailwind and let it know which files to purge. Open tailwind.config.js and add the following:
 /** @type {import('tailwindcss').Config} */
 module.exports = {
   content: [
     "./components/**/*.{js,vue,ts}",
     "./layouts/**/*.vue",
     "./pages/**/*.vue",
     "./plugins/**/*.{js,ts}",
     "./nuxt.config.{js,ts}",
     "./app.vue",
   ],
   theme: {
     extend: {},
   },
   plugins: [],
 };
Adding Tailwind to project styles
You can customize the theme, variants, and plugins by adding properties to the corresponding objects.
Next, create a
tailwind.cssfile in theassetsdirectory:
@tailwind base;
@tailwind components;
@tailwind utilities;
- Now, we move to the
nuxt.config.tsfile to add some configuration related to Tailwind CSS.
export default defineNuxtConfig({
  css: ['~/assets/tailwind.css'],
  postcss: {
    plugins: {
      tailwindcss: {},
      autoprefixer: {},
    },
  },
});
Testing out Tailwind CSS
Open the app. vue file and Replace the <NuxtWelcome> inside the div with
<div class="flex h-20 items-center m-auto bg-red-500 justify-center text-3xl text-white font-medium ">
 Hello world
</div>
Run your build process with yarn dev or npm run dev
Now Goto http://localhost:3000/ in a web browser.

BOOM! We did it.
Finally, We configure Tailwind CSS in Nuxt.js 3.
Thank you for being here Bye.👋
